Hello, and welcome to another edition of Tutorial Tuesday, our weekly series in which we instruct you how to use a marketing tool and/or apply a particular SEO tactic. This week, I’ll show you how to schedule tweets on Buffer.
Social media is extremely valuable in online marketing, and can even impact SEO when done correctly. We just did an entire Twitter chat about how social media complements SEO.
You don’t have to maintain a strong presence on every single social platform. It would be both exhausting and inefficient. But it’s important to target the platforms your audience lives on.
Of course due to its nature, the SEO niche occupies all corners of the Internet, including social media platforms. Twitter in particular has been the most successful platform for this blog.
Social media requires constant activity. Ongoing engagement is the difference between a strong social media presence and a lackluster account.
In order to keep Linkarati's feed active, we often schedule shares of great content over the weekend, with a little help from our friends at Buffer.
Sure, someone on the Linkarati staff can log in on a Saturday to tweet something. But it’s much easier to choose a series of tweets to schedule over the weekend. That’s why we use Buffer.
So without further ado, let’s explore how you can schedule tweets with the free version of Buffer.
Step One: Signing into Buffer
Buffer does have a business account, which they refer to as “the awesome plan.” That plan provides a myriad of benefits, but you can still schedule tweets for free with Buffer.
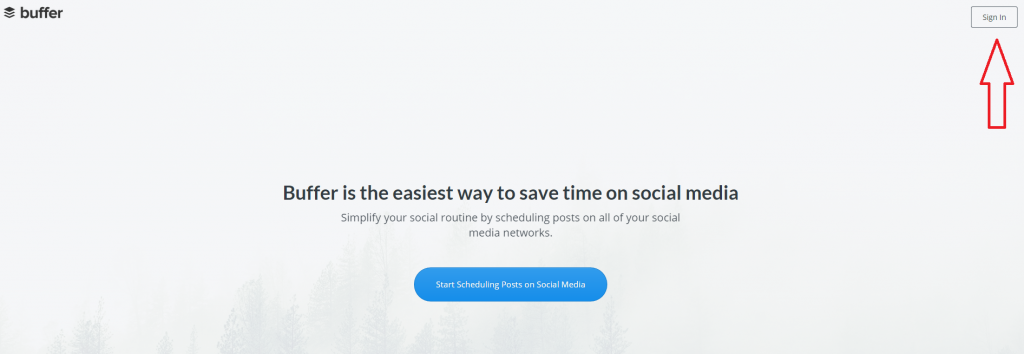
To schedule tweets, simply go to Buffer and click on “sign in.”
You’ll see a pop-up immediately after:
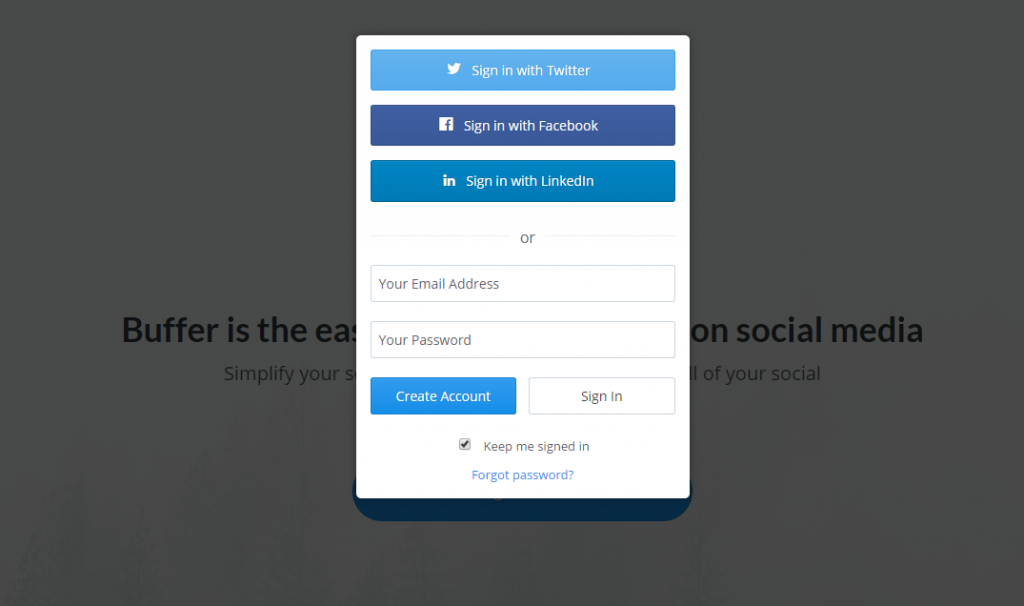
Click “Sign in with Twitter” at the top of that menu.
If you’re already logged into the Twitter account you want to use, you’re ready to get started. If not, no worries. This page will appear:
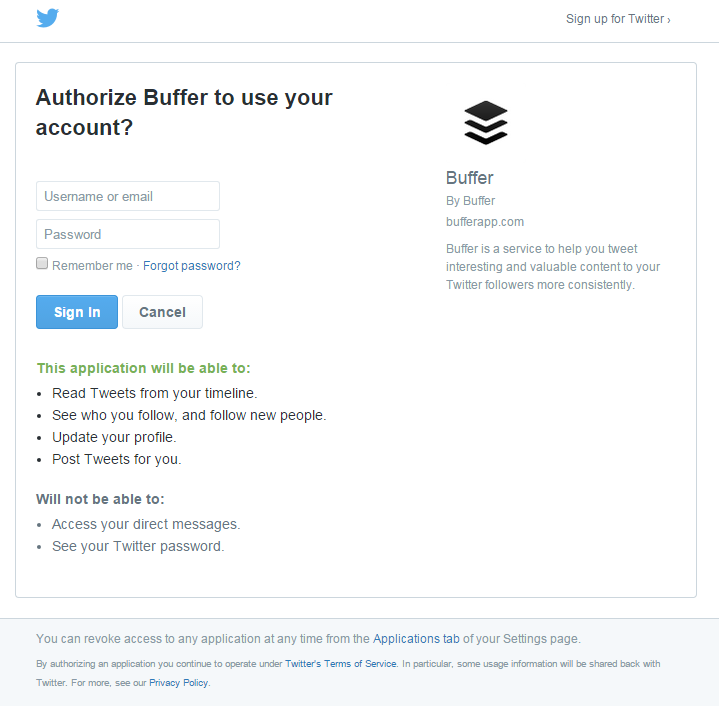
Type in the log in credentials of the Twitter handle you’d like to use. For the purpose of this post, I’ll be using the Linkarati account. Once I type in the proper log in, I’ll see this:
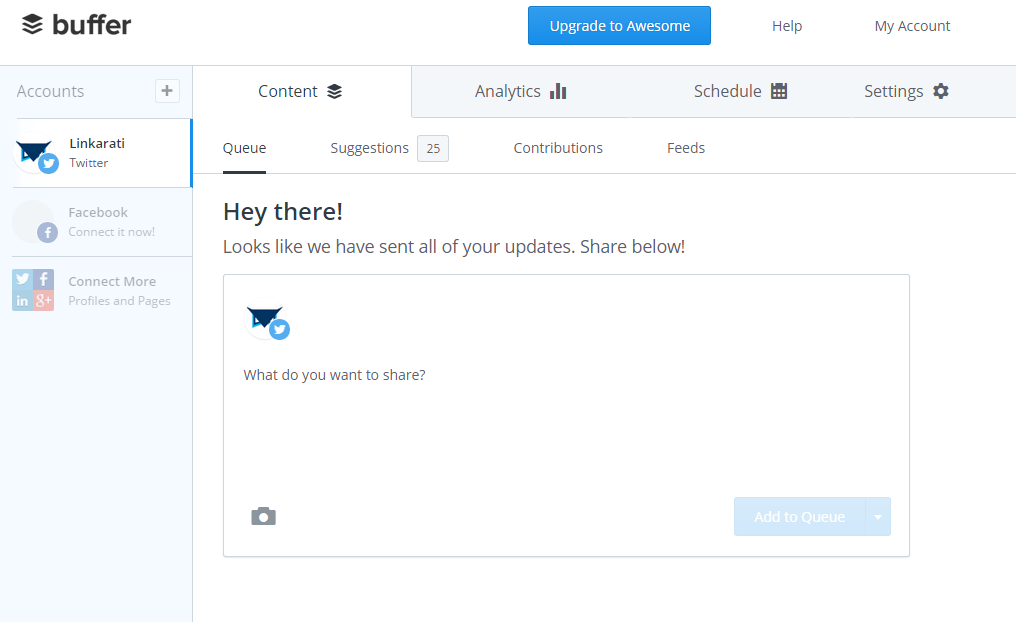
Perfect. Time to start scheduling tweets.
Step Two: Making a Social Share Schedule
There are a few ways you can identify the optimal times for your niche, but first let’s worry about the general functionality of scheduling a tweet in Buffer. Click on the “Schedule” option in the top menu.
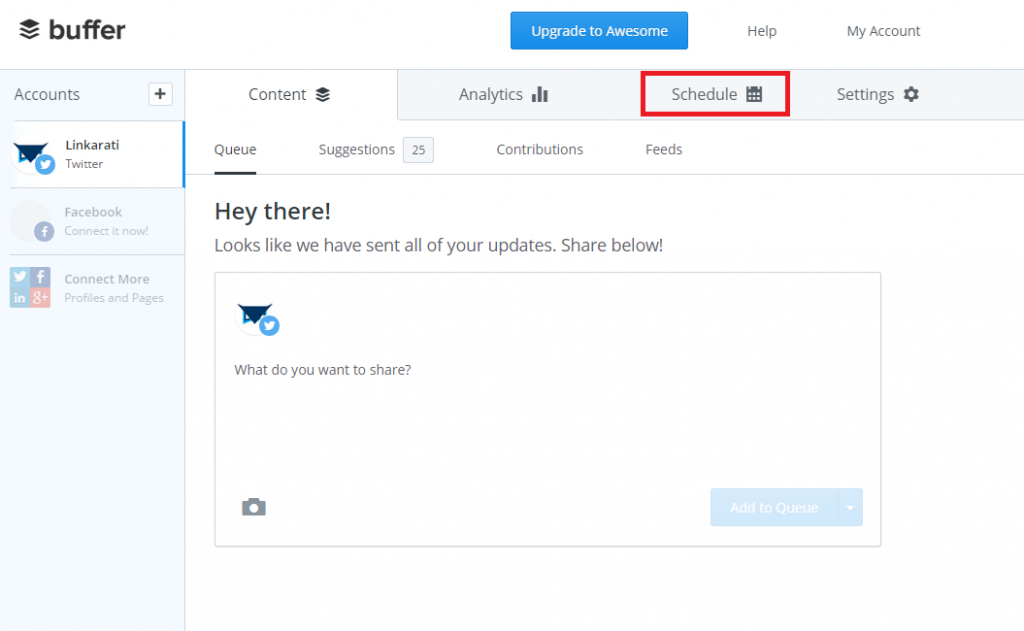
You’ll see this page:
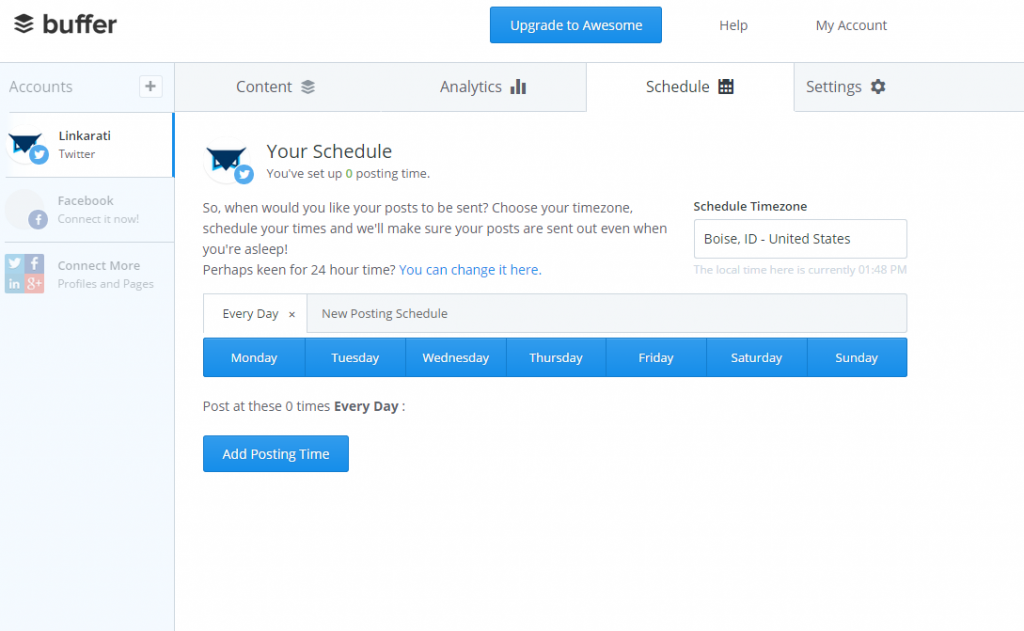
This page is the scheduling playground, where the majority of the magic happens. First, let’s focus on picking posting time(s).
Click on the “Add Posting Time” button in the middle of the screen:
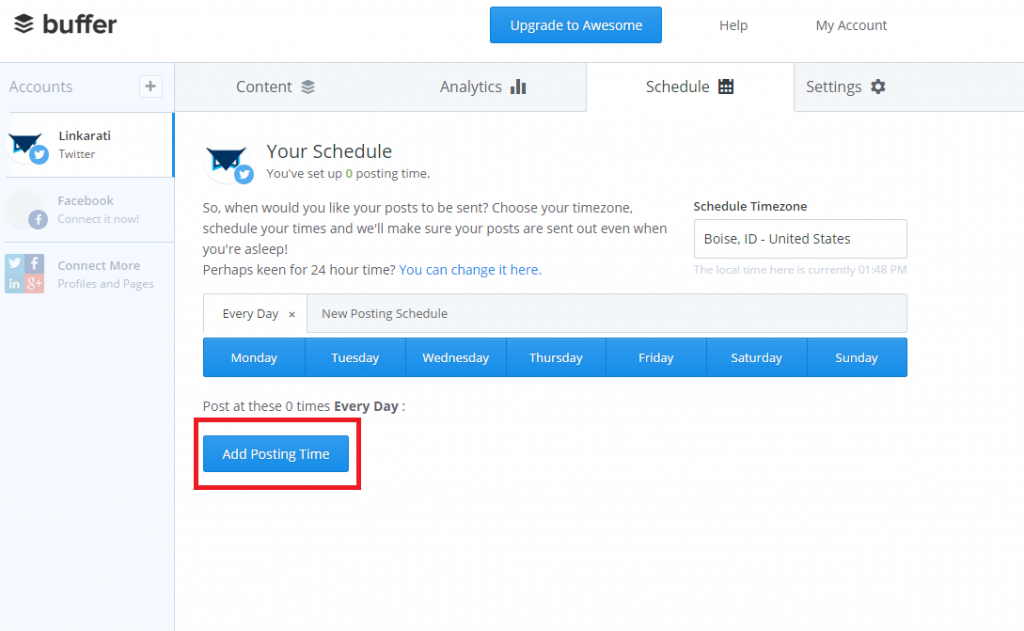
You’ll see this:
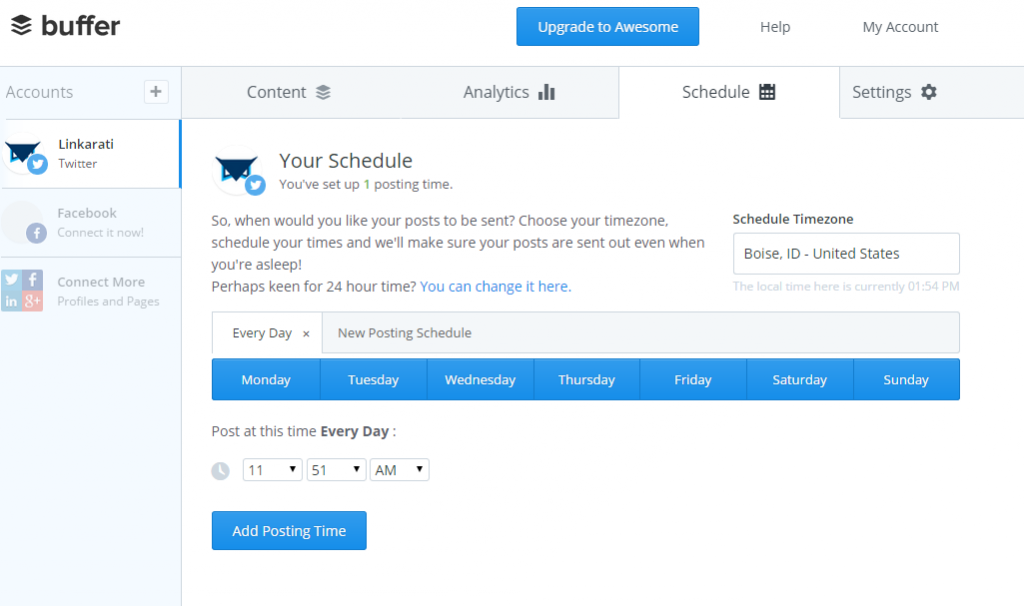
You’re not obliged to stick with the 11:51 time: that’s just the time of this screenshot. To change it, simply click on the dropdown arrows. So if you’ve determined that, say, 8:01 is an optimal time for your audience to see your tweet, just:
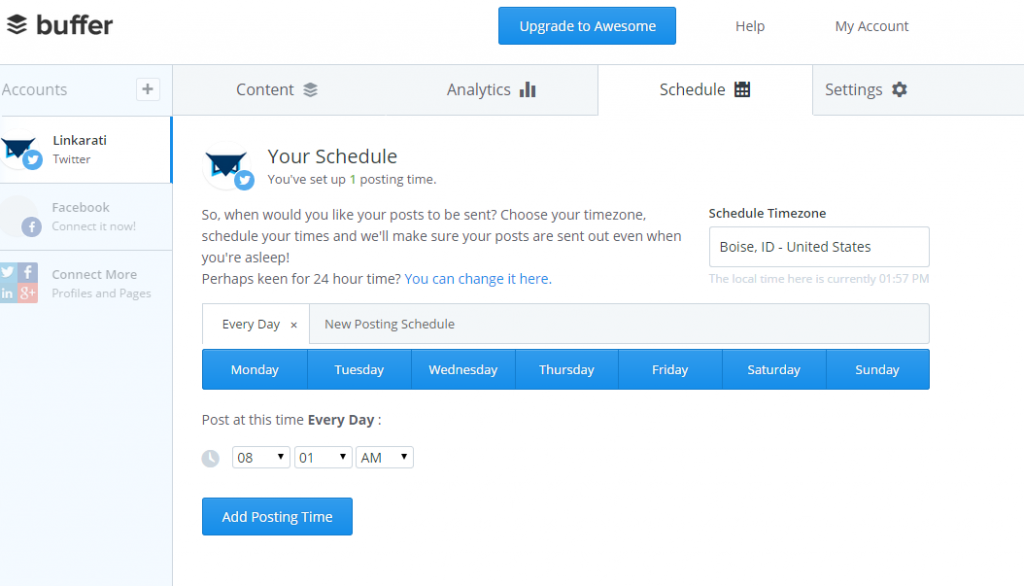
Voila. You’ve picked one time. You can pick more by just repeating the process over again.
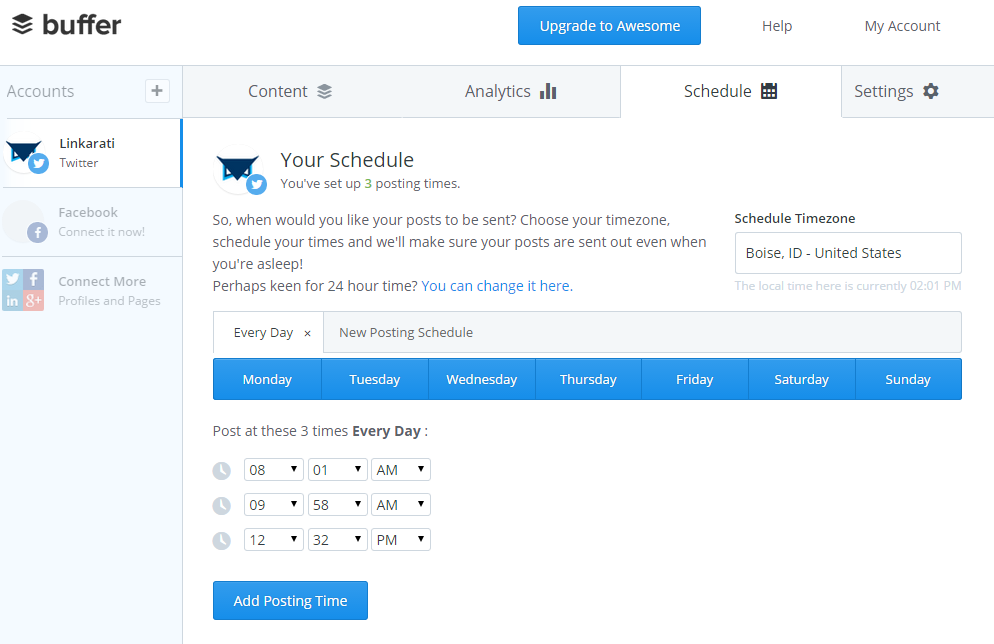
There’s still something wrong here though, at least for Linkarati.
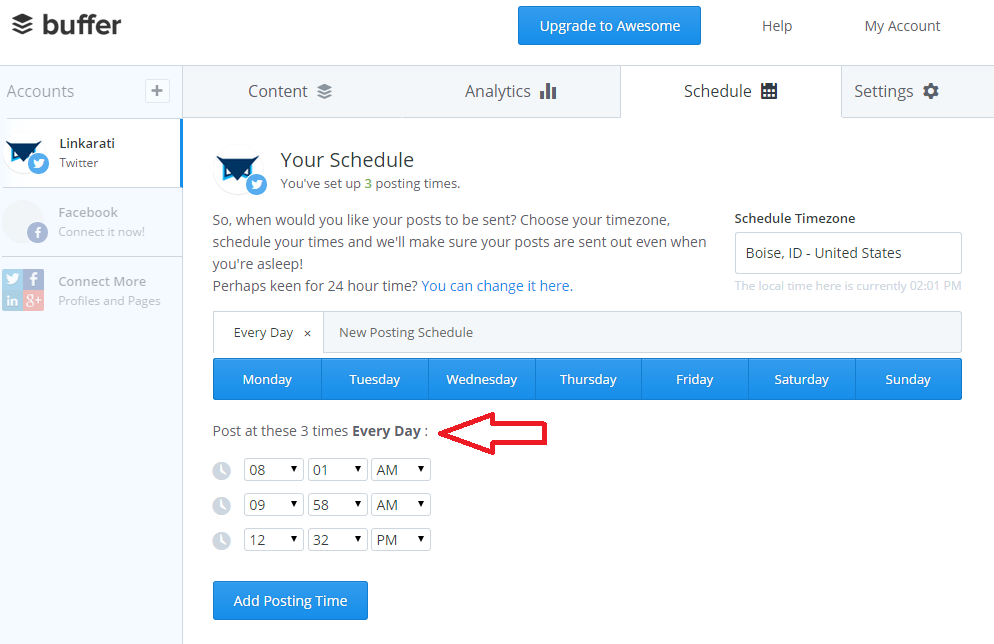
Every day. Linkarati doesn’t need this every day. Four days out of the week, there’s someone here to manually tweet to the world. Buffer doesn’t know this. So how do you set it up to only tweet on specific days? Easy.
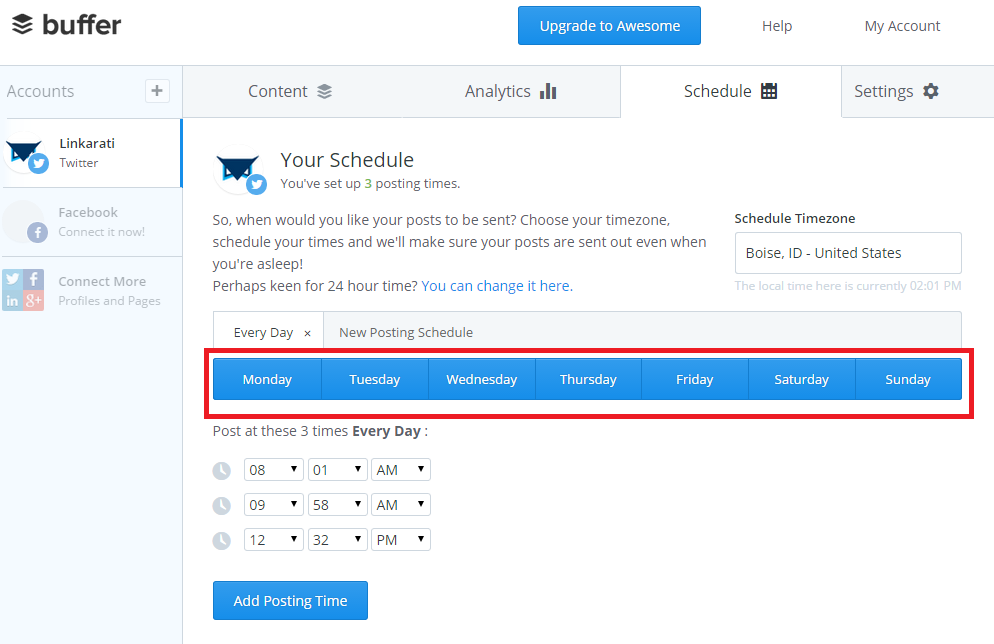
Click on the days you don’t need, and you’ll get this:
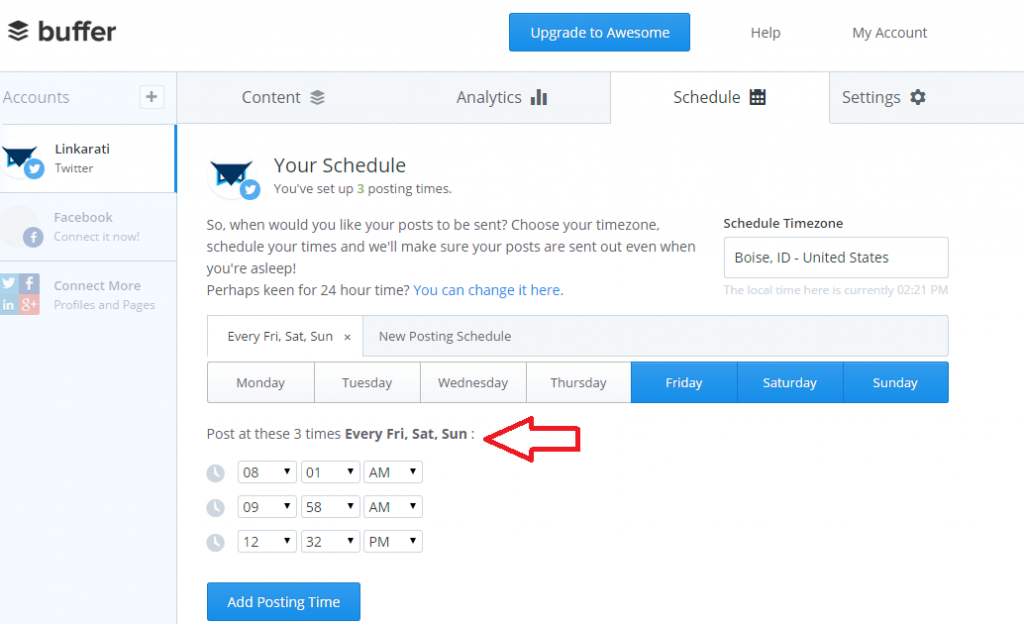
That’s better.
Step Three: Picking the Right Times to Share
So now you probably want to know what time(s) to schedule your tweets. Here’s the unfortunate reality: I don’t have the proper answer.
Best practices are going to differ in every niche. This is true when it comes to even a seemingly minute task such as scheduling times for tweets. If you ran a site dedicated to cross country runners--a group stereotyped for waking up early to get a few K’s in--a tweet at 7:15 AM isn’t so ludicrous. Now imagine that same time targeted at the punk rock crowd.
Buffer does have this asset, however.
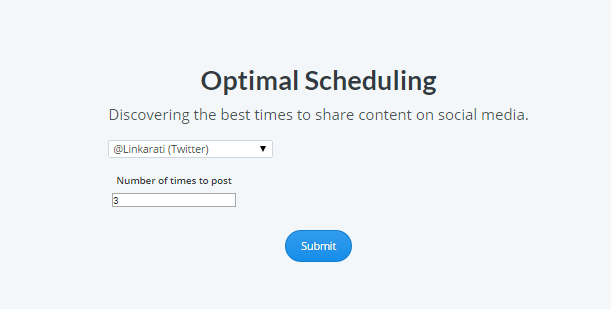
Buffer will track the history of your handle. It will measure the level of engagement per tweet against the time it was posted. So when you select a “number of times to post” and hit the submit button, you’ll see a graph that looks like this:
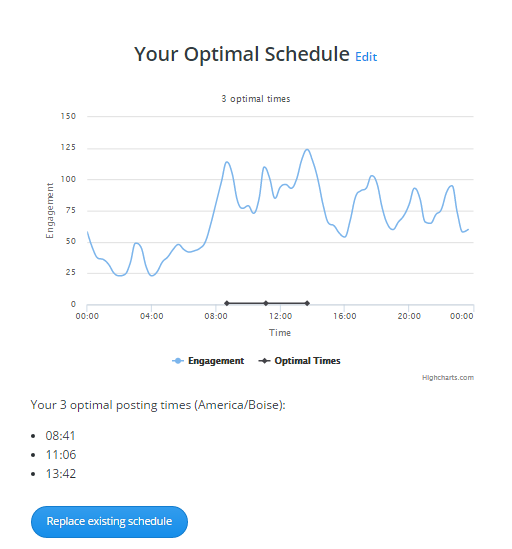
So at least you have a suggestion from Buffer. Remember, this will only serve you well if you have a history of tweets to start with.
Step Four: The Content to Share
As of right now you just have a series of empty tweets scheduled. Time to pick the content to share.
Thankfully, this is relatively easy as well. Just click on the “Content” tab at the top menu.
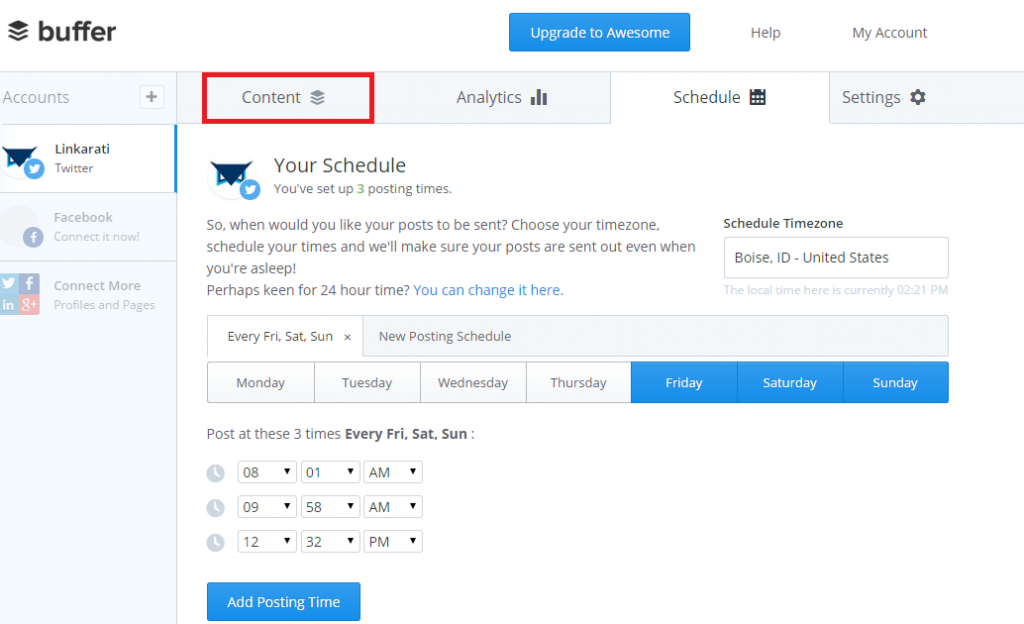
When you click the content button, you’ll see this page.
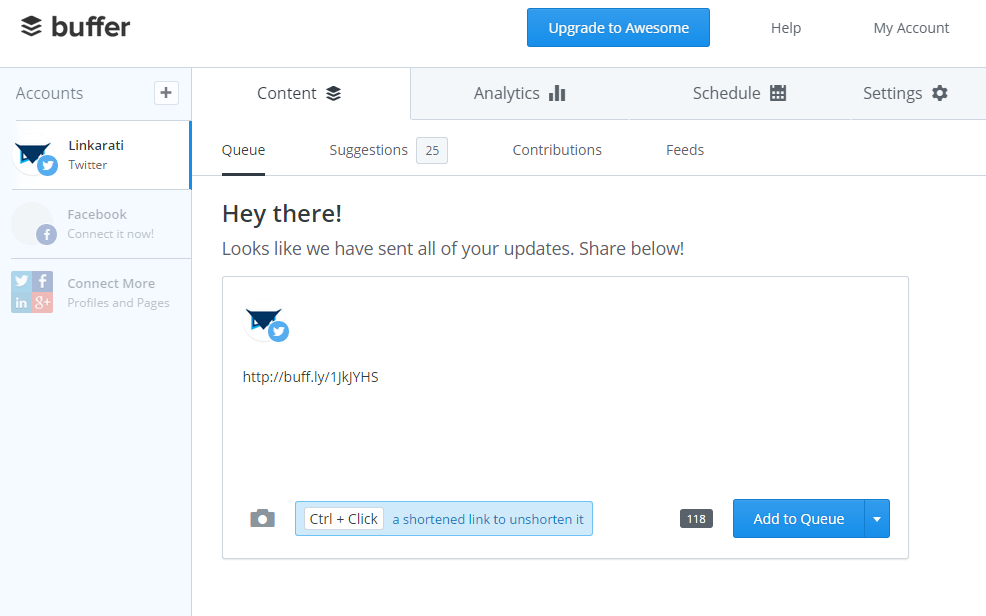
Right back to where we started.
Of course, you may wonder why there’s only one box here. Didn’t we schedule nine tweets, three everyday Friday through Saturday? Yes. But Buffer makes you choose which content to share one tweet at a time.
So let’s compose a tweet. Because I’m scheduling for Twitter, the same rules of character limitation apply. Buffer will let you know if you’re pushing the limit:
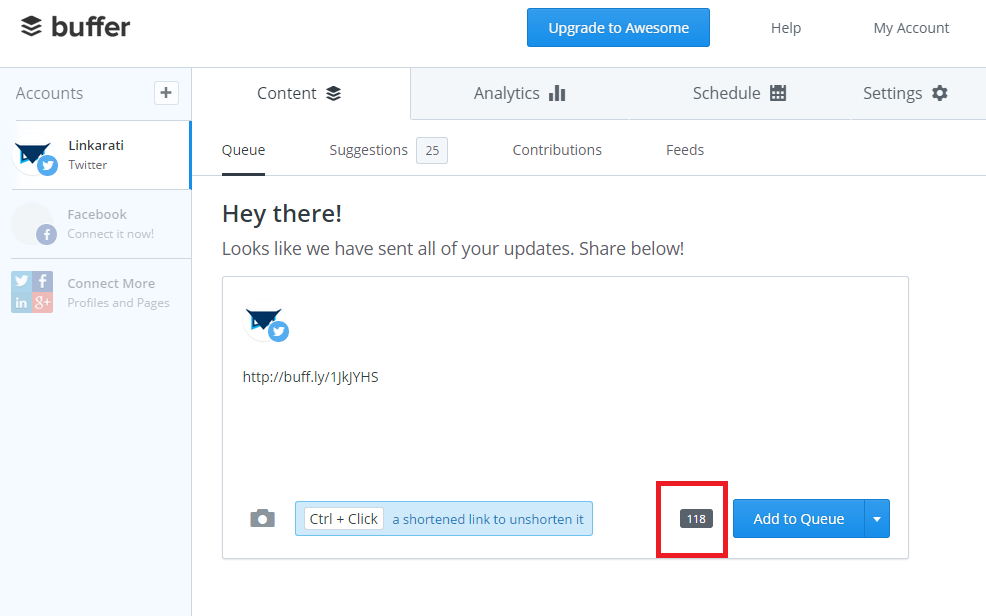
That link within the body points to Moosa Hemani’s post last Monday on this blog, by the way. It isn’t clear from that link, so I’ll be more specific.
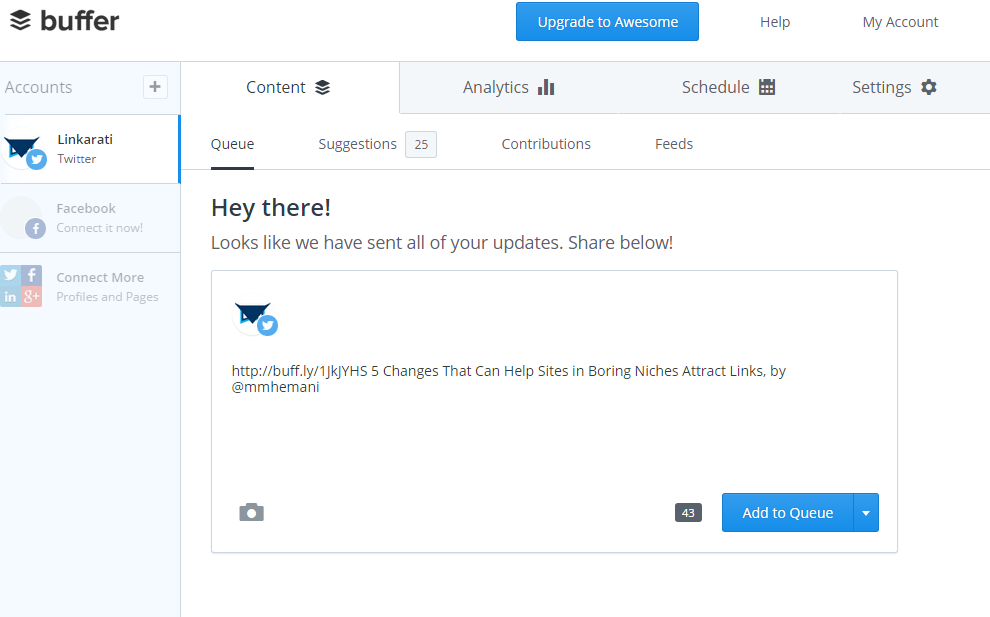
Unfortunately, Buffer doesn’t have a convenient lookup method for Twitter handles, and it won’t always autocomplete handles. To look up Hemani’s--or anyone’s--handle, you can still look it up on Twitter.
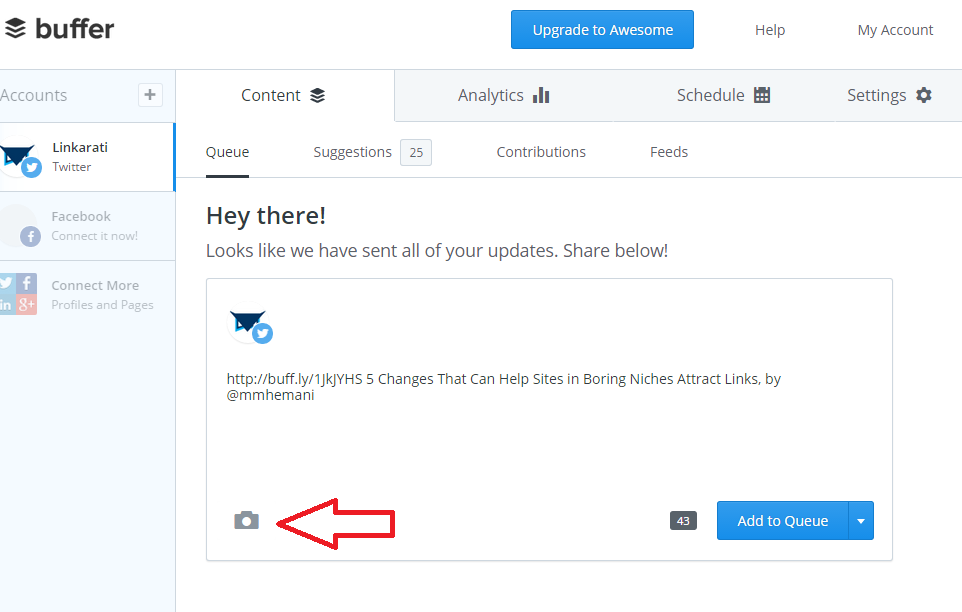
Looks like there are 43 characters left. That’s (usually) room enough for an image. So if I wanted to upload an image from the post, I could do it by clicking the camera icon at the bottom:
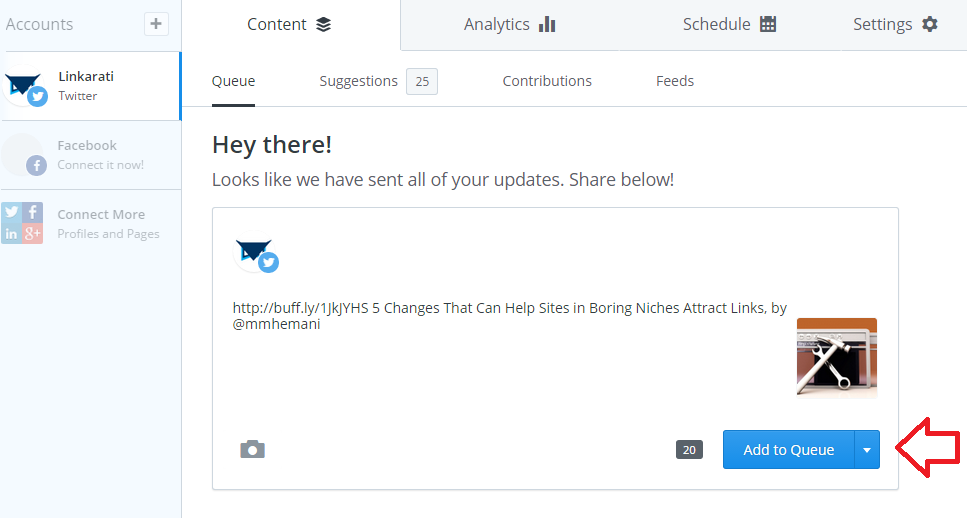
Now we’ve added an image to our tweet. Time to schedule it. Click on “Add to Queue” at the bottom right corner.
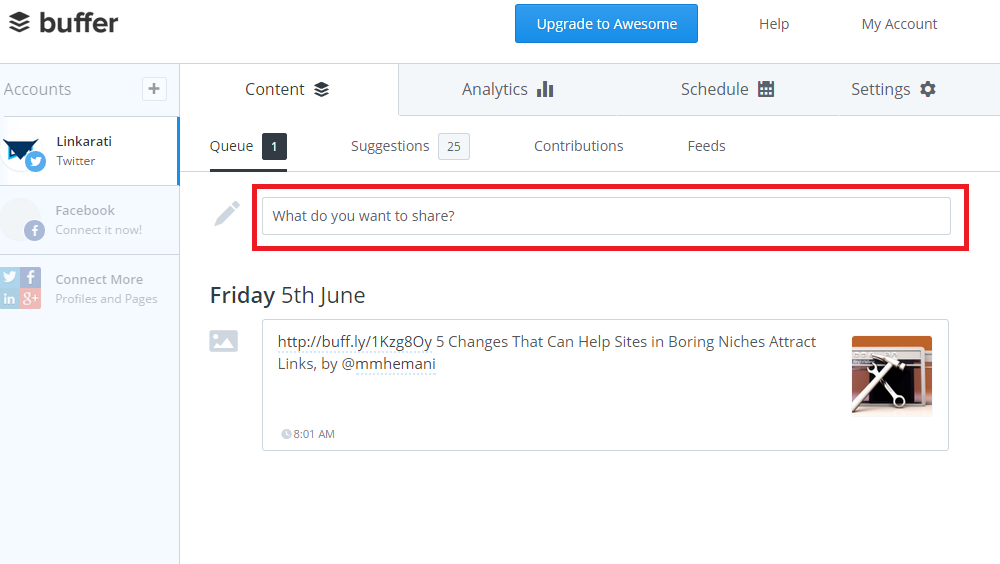
What does the queue look like at the moment?
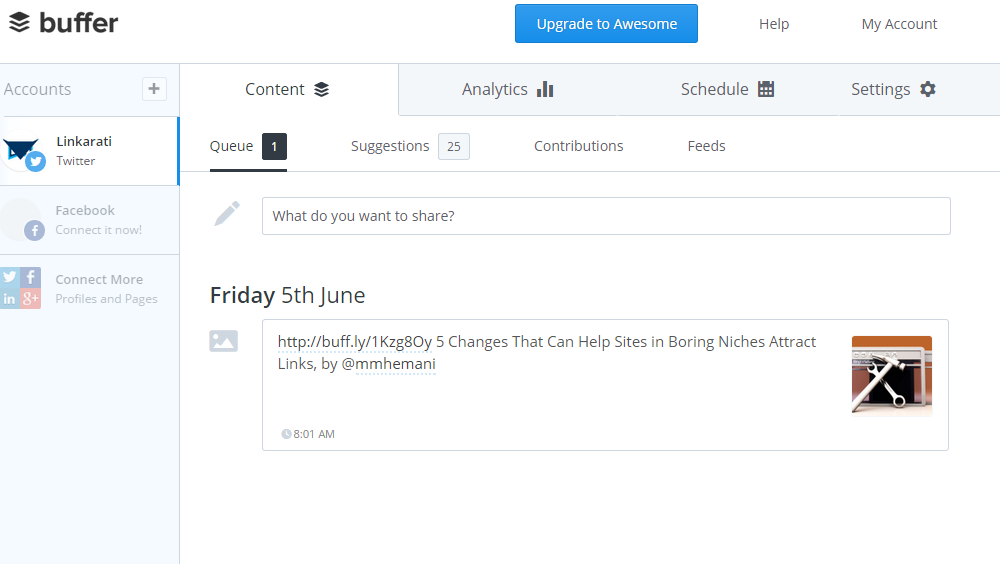
We have our first scheduled tweet for June 5th! Only eight more to go. As you add more to the queue, it will populate at the next scheduled time.
What content you choose to schedule is up to you. Some firmly believe in the 80/20 principle, in which only 20% of your tweets push your brand message. Others might argue against it. There’s no one right answer really. Buffer does have suggestions for you, if you look right above the text box at the top.
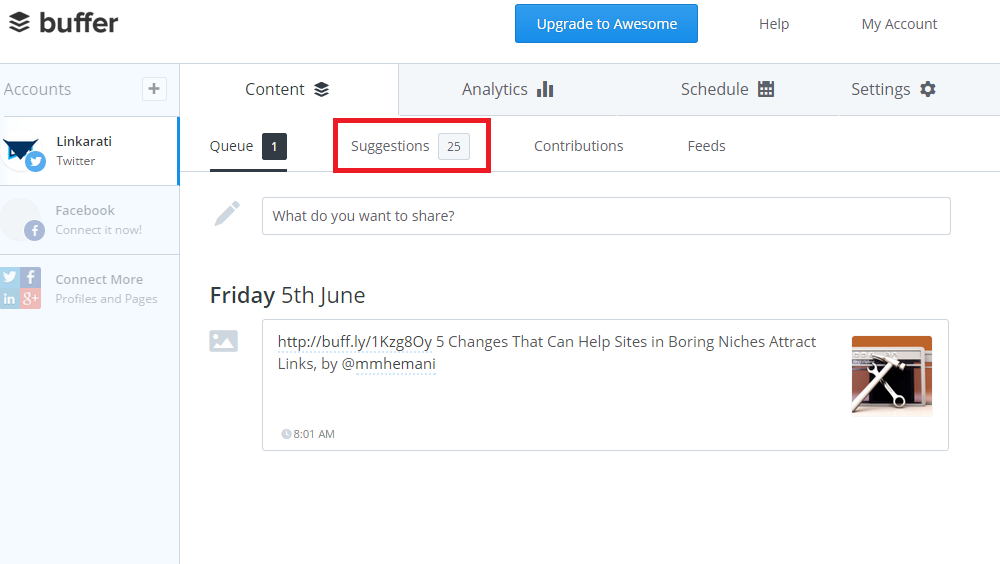
These are just suggestions though, and may not always apply to your niche.
You can add more to the queue simply by adding to the text box near the top.
Lather. Rinse. Repeat.
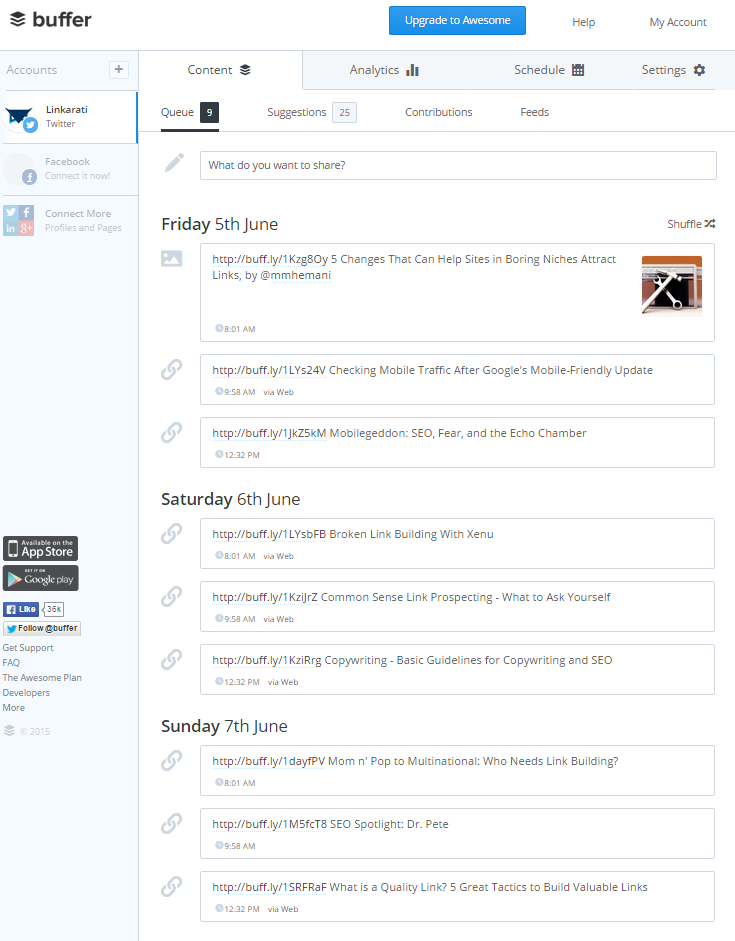
Tada! Nine tweets ready to roll. If you want to switch the order, that’s no problem. Let’s say you’d rather have your second tweet on Sunday be pushed out on Friday. Just click on the chainlink on the left:
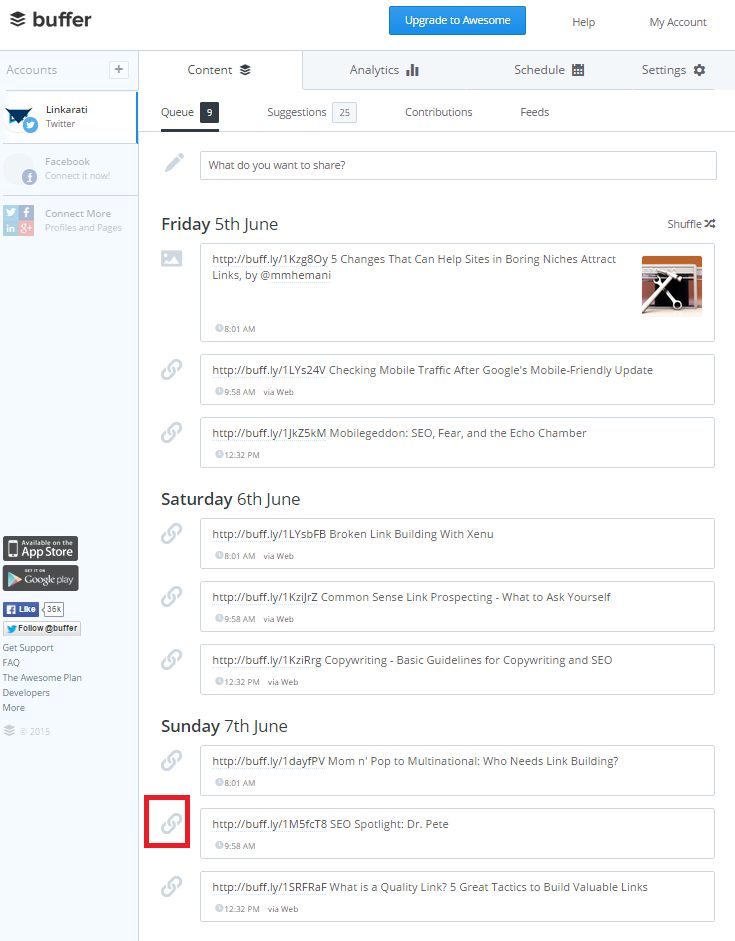
And drag up.
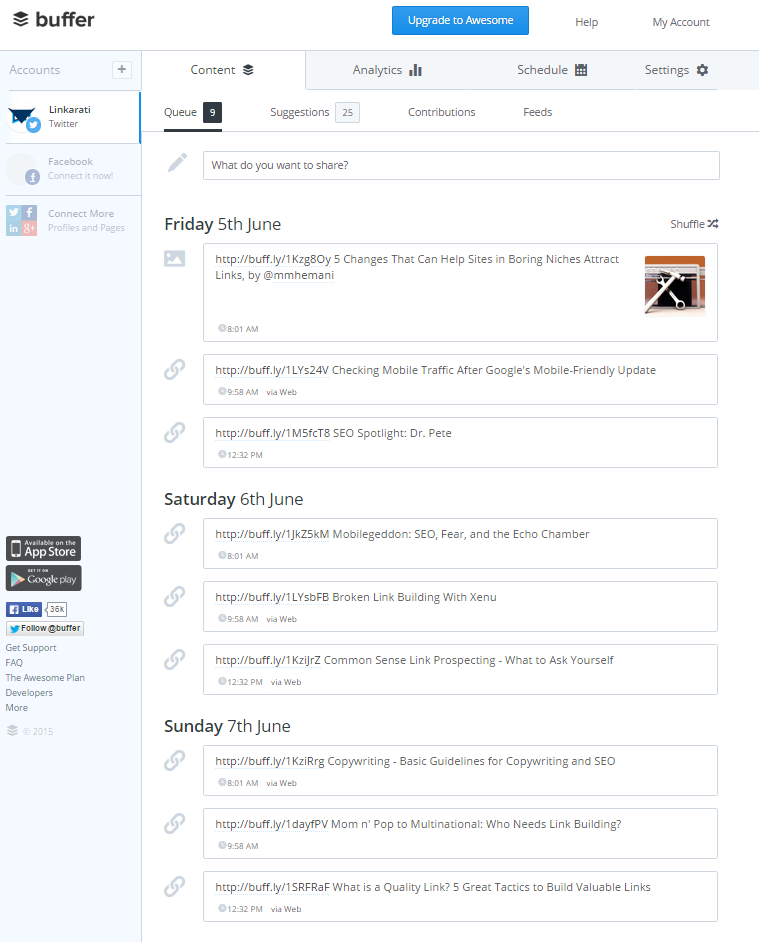
And there’s your schedule for the weekend!
If you don’t want to do it all at once, there is an alternative.
Let’s say I see link building content during the middle of the week that I really like, for example:

If you scroll all the way towards the bottom, you’ll see a menu of social sharing options right before the comments.
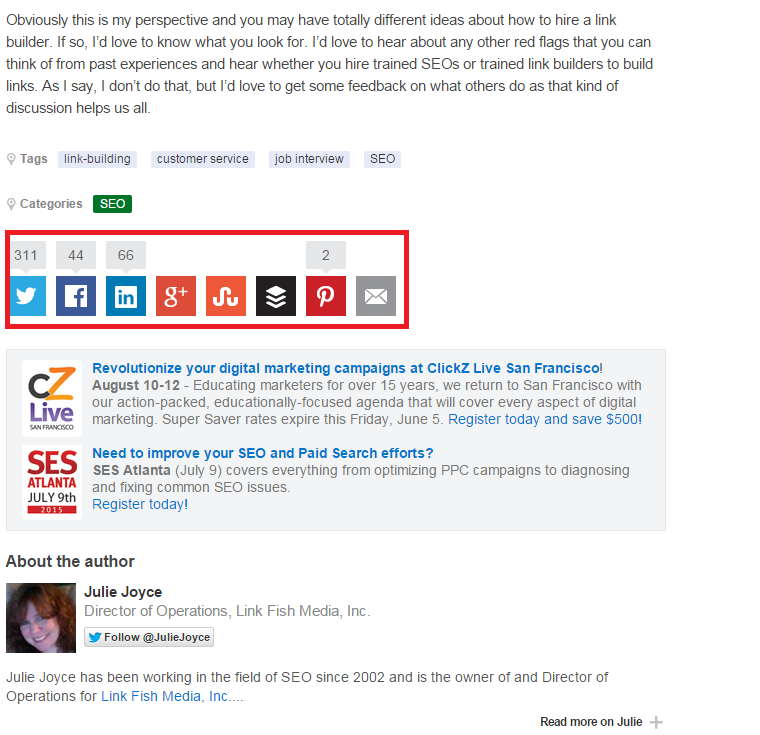
The Buffer icon is the third one from the right. Click on that, and you’ll see a similar textbox to what you see on Buffer.
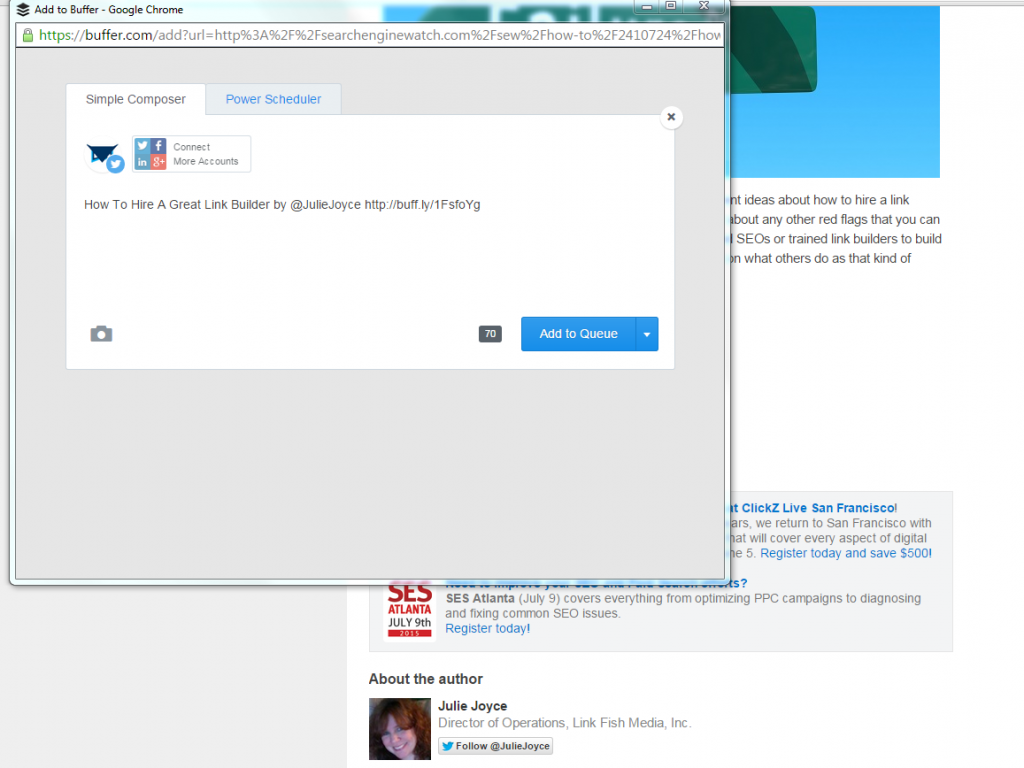
Click “add to queue” like you would directly in Buffer, and it will be added. You can change the text of the tweet if you so choose as well. Just be mindful that not every site provides this option.
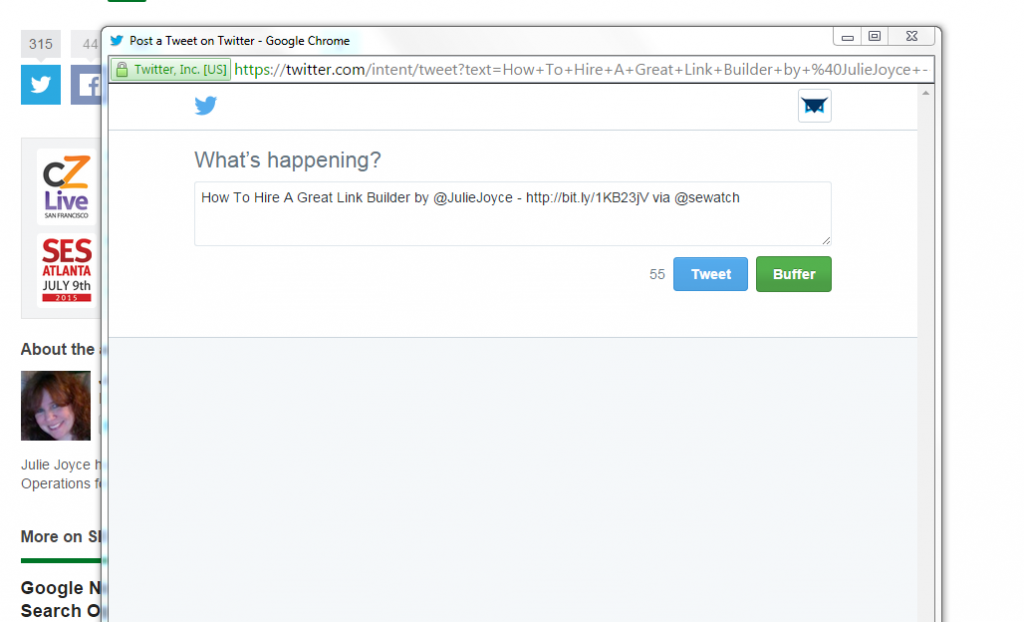
If you hit the Tweet icon on the far left, a similar pop-up will appear.
Click the Buffer button on the right, and it will take a place in your queue.
Conclusion
So that’s how to put together a series of scheduled tweets for a weekend.
It’s important to maintain a digital presence, even when you’re out of the office. The inherent advantage of social media is that you can inform/engage your audience while you’re at a movie theater to see Ex Machina. Author note: If you’re in SEO, I highly recommend that film. It's somewhat pertinent to our field. And it's just great.
Just be sure not to schedule anything that might be deemed controversial or enflame your audience. You’re scheduling tweets so you DON’T have to work during the weekend.
Pick content that your audience will like and be entertained by. Tweets that will enrich your relationships with other influencers in the niche.
You pick the content, but after that Buffer can be your weekend warrior.

